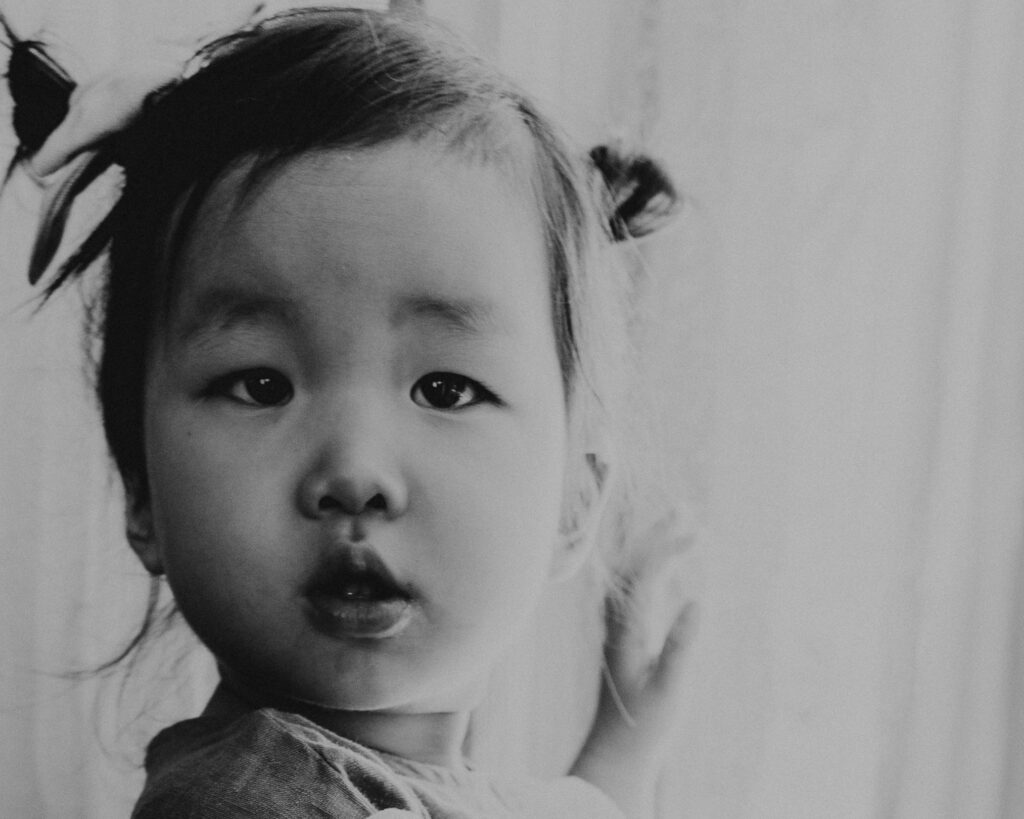
Sometimes when you go to post a photo only, it just looks plain BAD. Here, I’m listing a few reasons why photos look different online, and how you can fix them!
3 Reasons Why Photos Look Different Online
If you’ve ever had a photo that you truly love, you may have tried to share it with the world. You go to upload it on social media, and for some reason, it looks kind of…well, bad. There are a few reasons that could be happening. No worries, I’m here to help.
1) Size
Compression of large image sizes is one of the most likely causes. Compression is a space saver for companies like Facebook and Instagram because less information in the upload means less data used (and less money they need to pay for data storage). It also saves time for the user, who doesn’t have to wait for lagging images to load. Compressed images are small and speedy- great for the internet age!
Nearly all images from a professional photographer’s camera are going to have *tons* of data. This is normally a great thing to have! There are definitely some places you want your image to retain as much data as possible, like when printing.
But, if you try to upload these pro photos to the internet as is, they’ll most certainly be compressed. Unfortunately, a side effect of overly compressed images is that they appear crunched, blurry, or off-color.
Photographers can anticipate and avoid compression by dialing back the data in an image before we go to upload it. For example, I have specific export settings if an image is going to be used on social media, to avoid the crunch altogether. I may export the same image in a few other ways too, depending on its final destination.
The opposite problem can also occur. A file that is too small becomes pixelated when it’s made larger (think: Minecraft). Basically- in photography, size matters. Having the right size image for the right destination is the best way to ensure your images look good wherever they go.
How do I make this problem easier for my clients? My client gallery settings have the option to download BOTH the full size image and the social media ready size. Simply use the social media sized images for your next upload, and they’ll look perfect every time!
2) Color Profile
There are also color profiles- or range of color- to consider. Most digital devices like computer monitors and phones use the color profile “sRGB”. Professional cameras can record images in either sRGB or Adobe RGB. Without getting too technical here, if an image is taken and exported in Adobe RGB, but later shows up on an sRGB device- you’re going to notice a color change.
Going back to those export settings for social media- photographers should also be accounting for a color profile just like they do for size. It all depends on the final use of the image.
Every digital screen also has different color calibrations. While you can color calibrate every device you own, most people don’t go through the trouble, and so one image can look different depending on which device and calibration you see it on. Not to mention those “night shift” and “true tone” options that can add further tone changes to your display screens!
If you run into any weird color changes with your pro photos, simply reach out to your photographer, who should be able to help diagnose what’s going on.
3) Lighting
Another common issue is lighting. What you see in print, on desktop, and on mobile, are inherently different due to the difference in light. For example, a desktop computer monitors light photos from behind and may appear brighter than a print copy of the same photo. By comparison, the light hitting your glossy print might be an orange-ish overhead bulb.
The good news is your photographer probably edited the images on a backlit screen, similar to what you’re using to view your images. And chances are, they double-checked how they look on a standard, uncalibrated cell phone, before handing them over to you. If the lighting feels very off to you though, you may want to find a more experienced photographer.
All in all, if you find yourself in a situation where your image doesn’t look great online, talk with your photographer first. Changing a simple export setting can produce better results. You may also be able to use software like Adobe Photoshop to adjust the color space and size down to avoid compression, too.
Got questions about the appearance of online photos?
Simply send me a message! And be sure to check out these tips before you schedule a photography session:
- Preparing for your photography session
- How to pick photo session outfits
- 4 simple things you can do for better photos
Looking for a Professional Photographer?
If you’re ready to hire an in-home family photographer for beautiful candid photos, you’ve come to the right place! Book a photo session here!

